We are slowly getting settled into our new home. Some days, I still picture going home to our little old farmhouse, only to quickly realize it isn't ours anymore. It is hard to believe we spent exactly nine years there. We brought home one dog, three kids, and a few cats and quickly filled the walls with a lot of love and a lot of noise. Thankfully, some of our very best friends/siblings are moving there so we can visit anytime we want {right guys?!} Moving really is a bittersweet process and we all really love our new home, but a part of me will always love the first house we got to call our home.

1.22.2020

12.19.2018


12.18.2018


12.12.2018
Otto's First Year


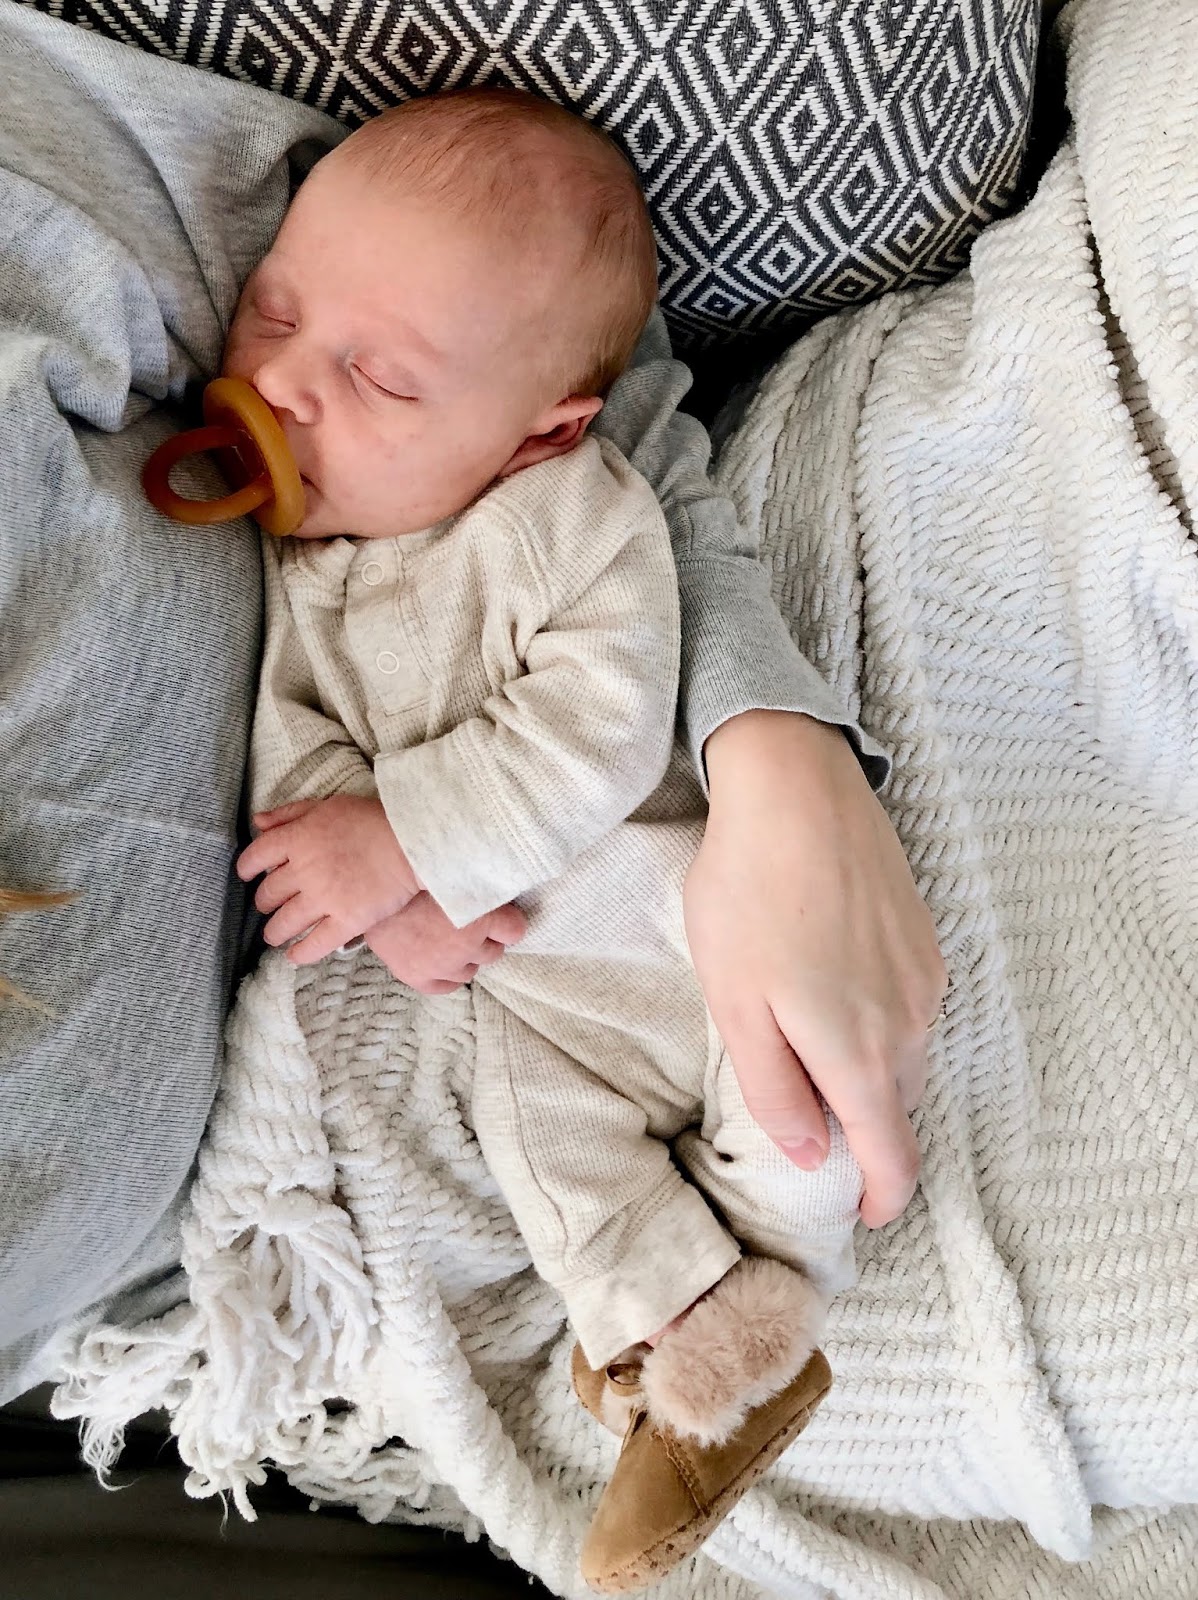


Happy Birthday buddy! What a year it has been and we look forward to many, many more with you!
11.12.2018
The Attic

For those who have been around for awhile, you know our home is a one bedroom/one bathroom + attic. We have always used the attic as our second bedroom. It started as our master bedroom, and it became the girls' room as soon as they were old enough to share. It is a very large and narrow room with plenty of space for kids, but with the placement of the stairs and the low ceilings, we could never figure out a way to make more bedrooms up there...until Otto. We needed a place for him as he wasn't sleeping well {at all!} in our room, but we also didn't want him waking up the girls all night. It occurred to us one day that we could wall off the nook and the girls' area of the attic in order to make two bedrooms plus an open area at the top of the steps where the closets and dressers are. I use the word "room" loosely when referring to Otto's space as it is tiny...the size of a king sized bed. But it fits his crib and a rocking chair and is just perfect for him. The girls love their "new room" and it definitely feels cozier than ever. And the best part? Everyone is sleeping better! The girls have less room to run around after lights out and giving Otto his own space was just the push he needed to get him sleeping through the night.


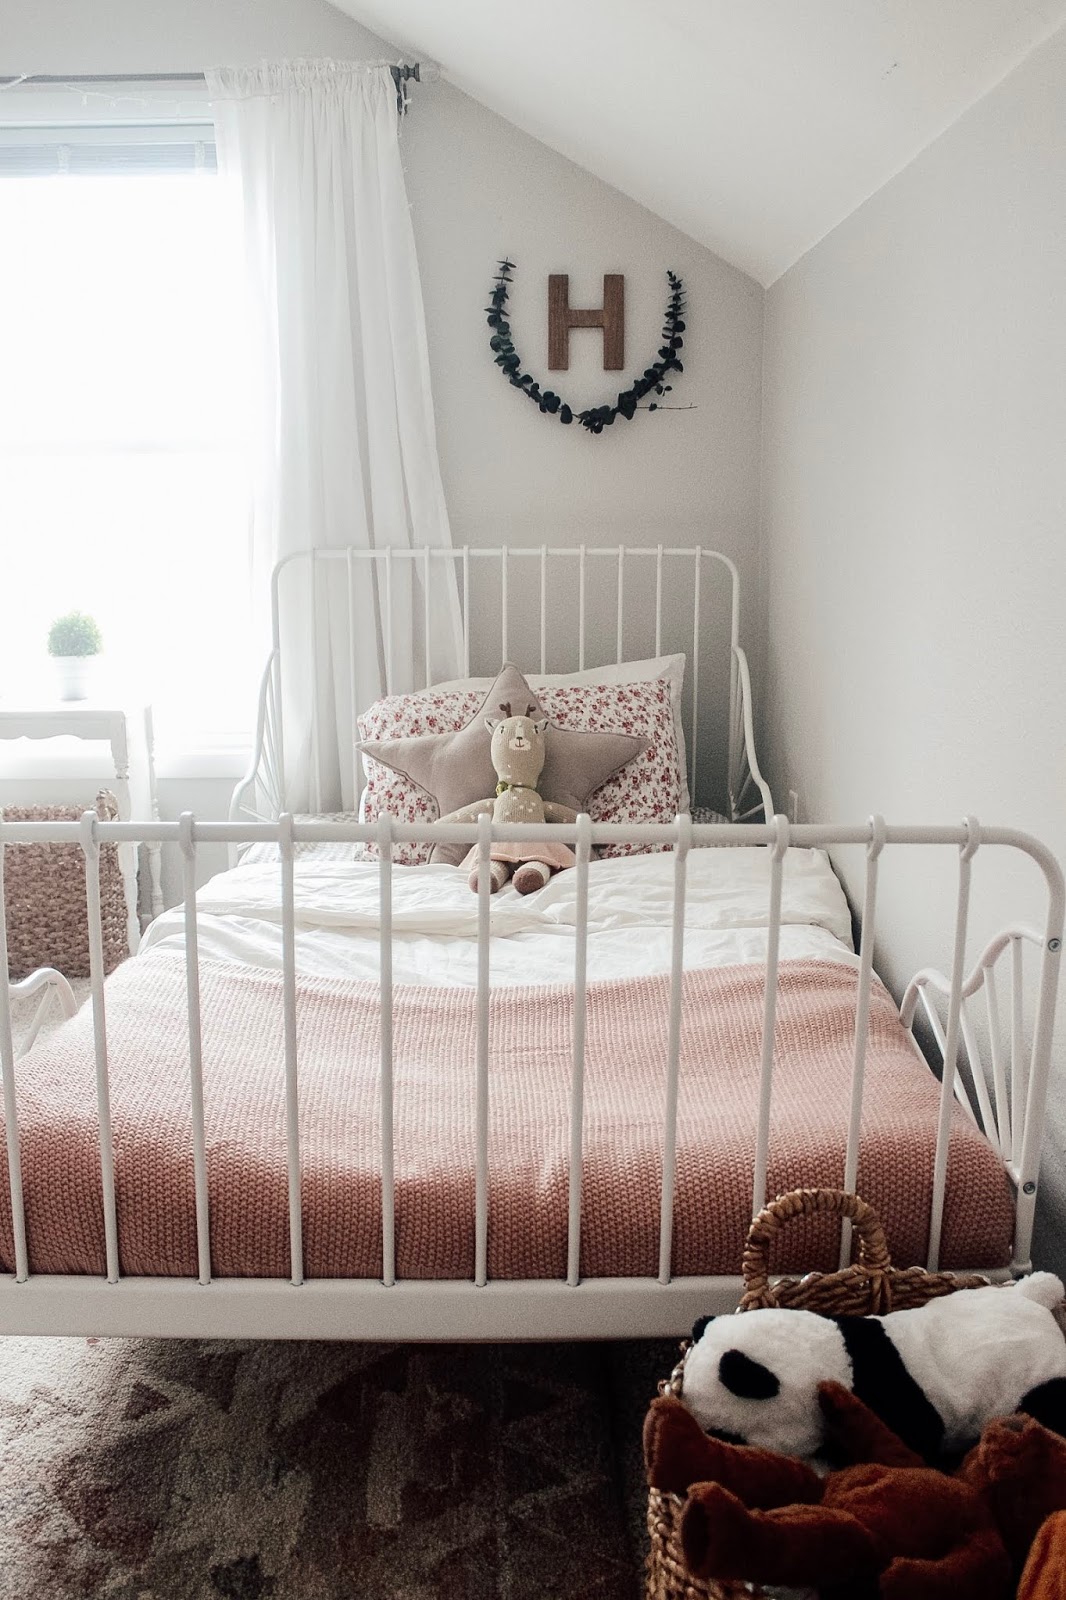


When we decided to add the walls, we knew we wanted temporary walls that could be taken down in the future or by future owners. We also didn't want to spend a lot of money on this project since we won't be living here forever. The frames of the walls are essentially held in place with pressure {and a few screws}. I chose an inexpensive paneling for the walls so we could avoid mudding/taping and ruining the walls. I had Cody hang the paneling horizontally and painted it white so it would appear more like shiplap and less like paneling. The most expensive part of the project was the doors, one of which is extra short and narrow, but I love how they tie in with the other doors in the attic that are original to the house. Now onto getting this little space set up with some Christmas cheer!
